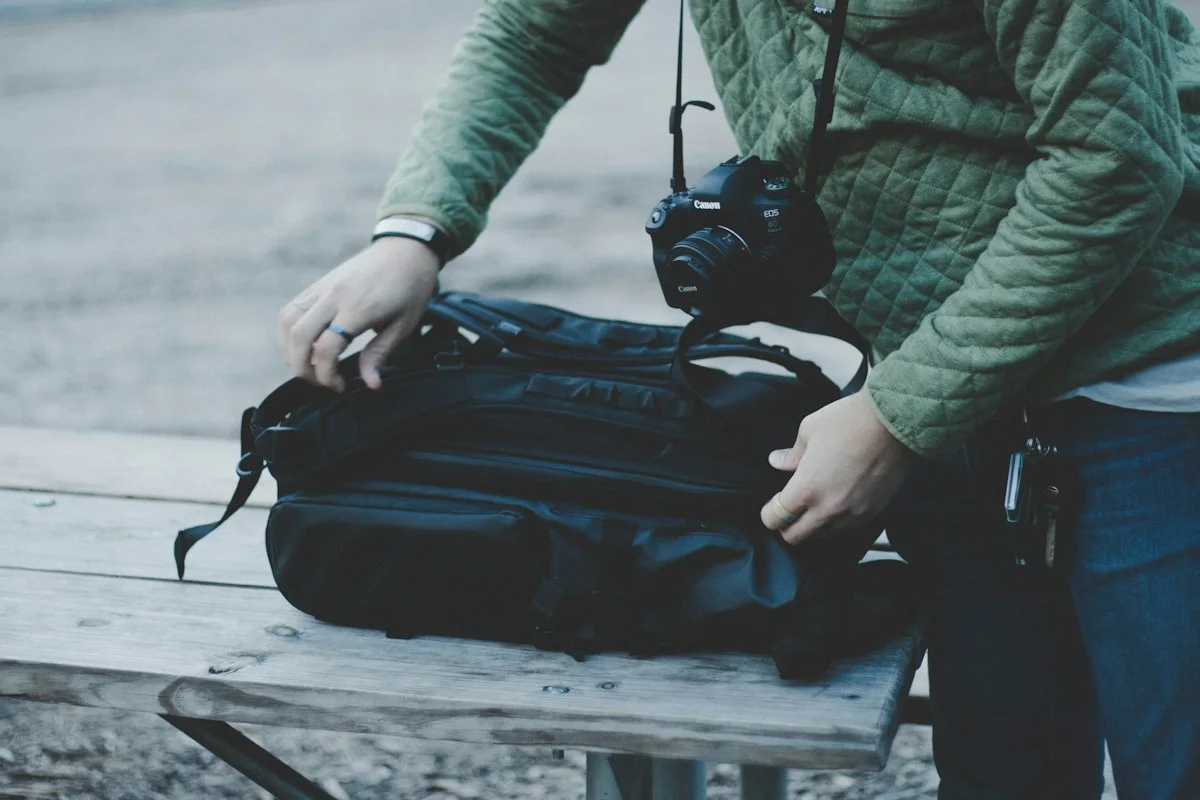
A photography day rarely consists only of making pictures. You may take a train, stop for lunch, visit a museum and walk back in the rain. A camera bag needs to support that whole day, including the water, light layer and personal essentials that sit alongside the camera. Choosing the smallest bag that can technically contain every lens is not always the most practical approach.
Begin with the photographs you want to make and the equipment you can comfortably carry. This guide is a scenario-based buying framework, not a hands-on ranking of bag brands. A compact camera and one lens require a different setup from a larger body and several lenses. Lay out the actual kit before looking at advertised capacities.
Choose the day's lens before the bag
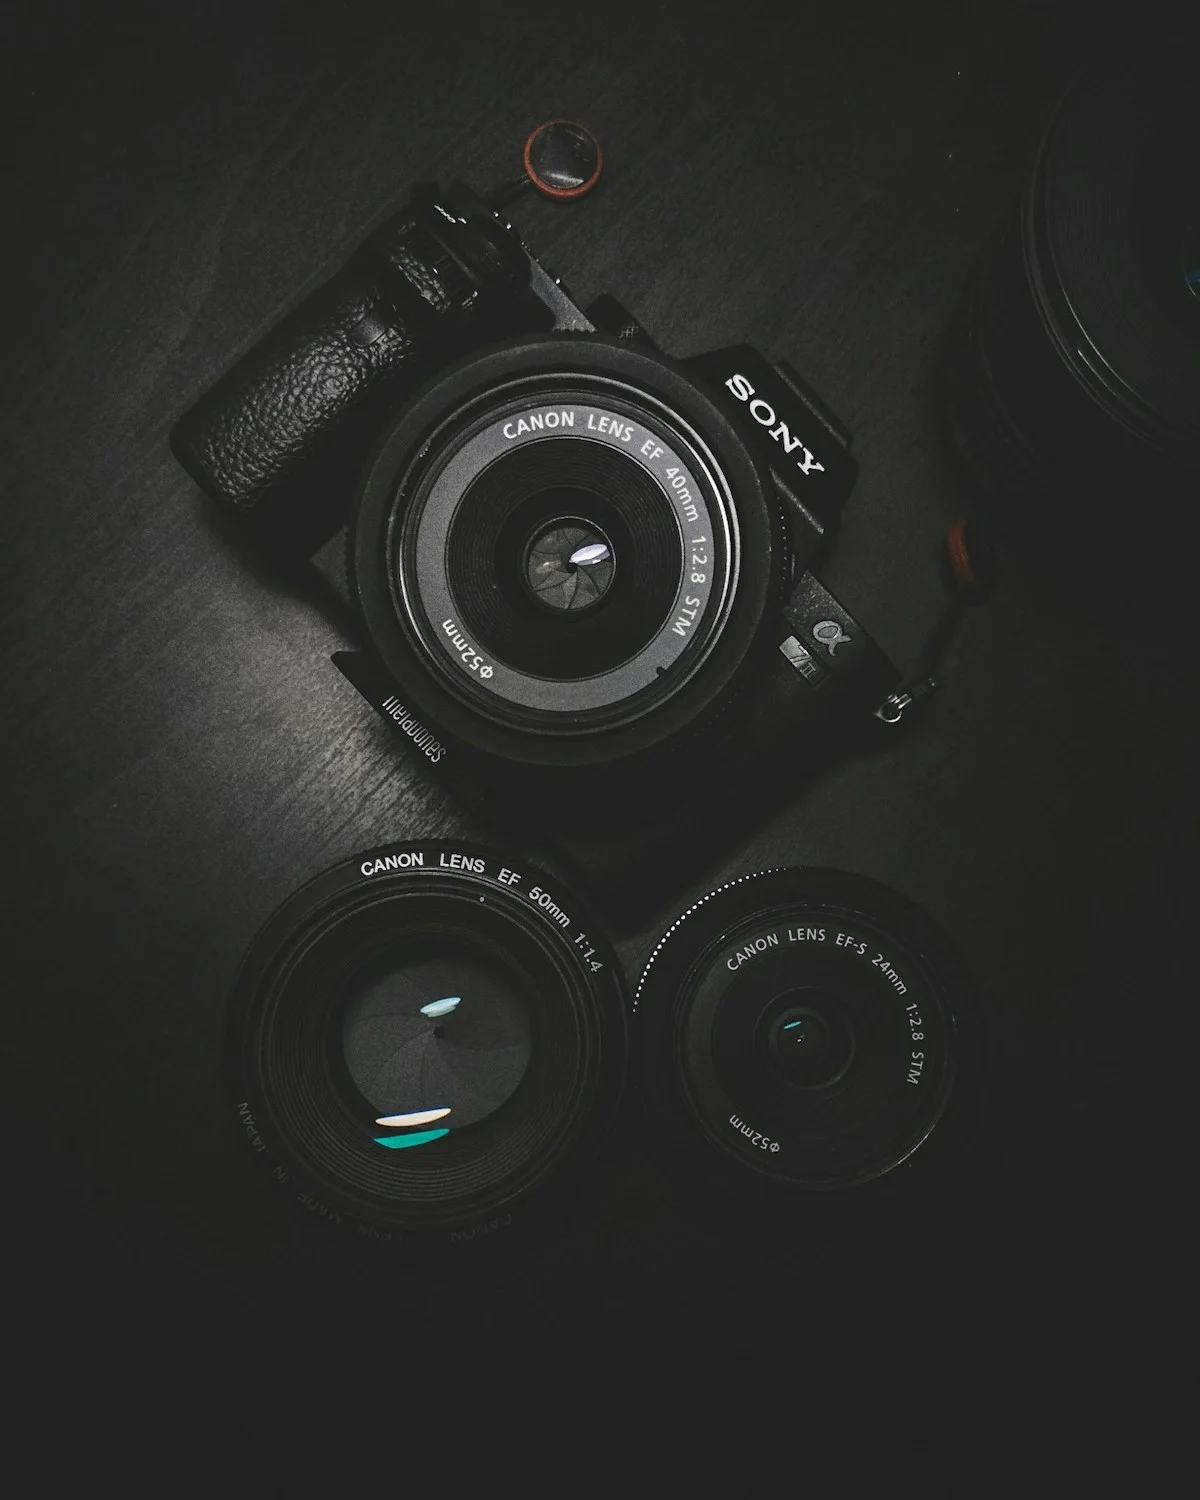
For a city walk, one versatile lens may let you concentrate on framing rather than repeated equipment changes. A specialist lens can earn its place when you have a clear subject planned, but carrying it just in case adds weight all day. Think about the photographs you missed on previous outings and whether another lens would truly have solved the problem.
Put the camera, chosen lens, spare battery if needed, memory storage and a suitable cleaning cloth on a table. Add the ordinary essentials you would carry without a camera. This second group is easy to overlook when comparing neatly arranged product photographs. A bag filled to capacity by camera equipment alone may leave nowhere for a jacket or a snack.
A smaller kit can also make it easier to keep the camera ready. If taking a photograph requires removing three layers of accessories, you may use the camera less than expected. Keep the main camera accessible while protecting it appropriately, and avoid a layout that requires placing loose lenses on a public bench whenever you need a different item.
Compare sling, shoulder bag and backpack
A sling can rotate toward the front for access, which is convenient for a modest kit. Its load sits differently from a two-strap backpack and may become uncomfortable if you fill it heavily. Test the adjustment range and the direction in which it rotates. A design that works for one person's reach may be awkward for another.
A shoulder bag often provides a broad opening and straightforward access. It may suit a short urban outing with a compact camera, though one-sided carrying can become tiring over a longer day. Check whether the strap stays in position and whether the bag bumps against your leg. A handsome shape does not compensate for repeated adjustment during a walk.
A backpack can distribute a larger load, leaving hands available on a trail or station staircase. Access may require removing it, depending on the design. Side openings can help in some situations, but test them with your own camera and a realistic load. The best opening is one you can use securely rather than one that merely looks fast in a demonstration video.
Look at internal fit instead of camera counts
Manufacturers may describe capacity in numbers of bodies and lenses, but equipment sizes vary. Measure the actual items and check internal dimensions. Adjustable dividers should support the gear without forcing controls against neighboring objects. Allow enough room to remove the camera smoothly; a tightly wedged fit is inconvenient when the light changes quickly.
A removable padded insert can turn a familiar day bag into a more flexible system. Its tradeoff is the space it consumes and the possibility that it shifts inside an unsuitable outer bag. Try the combination loaded. Check where water and other potentially leaking items sit, and keep them separated from electronics. Do not assume that a bottle pocket alone makes spills impossible.
Small accessories need a defined home. A memory-card case and protected battery storage can prevent tiny items from disappearing beneath dividers. Avoid filling every internal pocket with duplicates. The aim is to know where each essential item lives, not to prove that every pocket can be used.
Weather protection needs a realistic plan
Water-resistant fabric and a rain cover can be useful, but neither phrase proves the entire kit is safe in every condition. Read the bag's and camera's actual protection guidance. Seams, zippers and open access points matter. If the forecast calls for conditions beyond your equipment's limits, change the plan rather than relying on optimistic marketing language.
Keep a suitable protective cover accessible before the rain starts. A cover buried under the camera is difficult to retrieve quickly. When returning indoors, follow the equipment manufacturer's care advice and give damp bag materials appropriate time to dry. Do not leave wet items sealed beside electronics overnight just to preserve an orderly packing arrangement.
Test comfort with the rest of your day included
Load the bag with the full planned kit, water and clothing. Walk for a realistic interval, use the opening and practice putting the bag down securely. Notice pressure points, strap movement and how the bag feels when you bend. If shopping online, preserve the packaging and check return conditions before performing a trial.
Consider the venues on your route. Museums, performances and other attractions may restrict bag sizes or photography. Check their published rules and plan storage if needed. A bulky equipment bag can become a limitation even when the equipment itself is allowed. For a light sightseeing day, your phone may be the more convenient choice; our phone photography guide offers a smaller approach.
Air travel and the removable essentials
Keep camera equipment and valuables in a suitable cabin arrangement within the airline's allowance. The FAA requires spare lithium batteries to remain in the cabin and have their terminals protected. If your main bag is gate-checked, be ready to remove those batteries and other essentials. Check the carrier's additional limits before departure.
Should a camera bag look discreet? A simple appearance may suit your style, but appearance alone cannot guarantee security. Use sensible handling and keep control of your belongings.
Is a dedicated bag necessary? Not always. A suitable insert in a comfortable existing bag may work for a small kit, provided fit and protection are adequate.
When should you buy a larger bag? When a necessary item has no safe, comfortable place in the current system. First remove equipment without a clear role. A bag that helps you enjoy the whole day is a better purchase than one that encourages carrying every piece of gear you own.